Pages

Background

Showing posts with label Crafts. Show all posts

Tuesday, November 13, 2012

Love Messages with a Sparkle- DIY Project

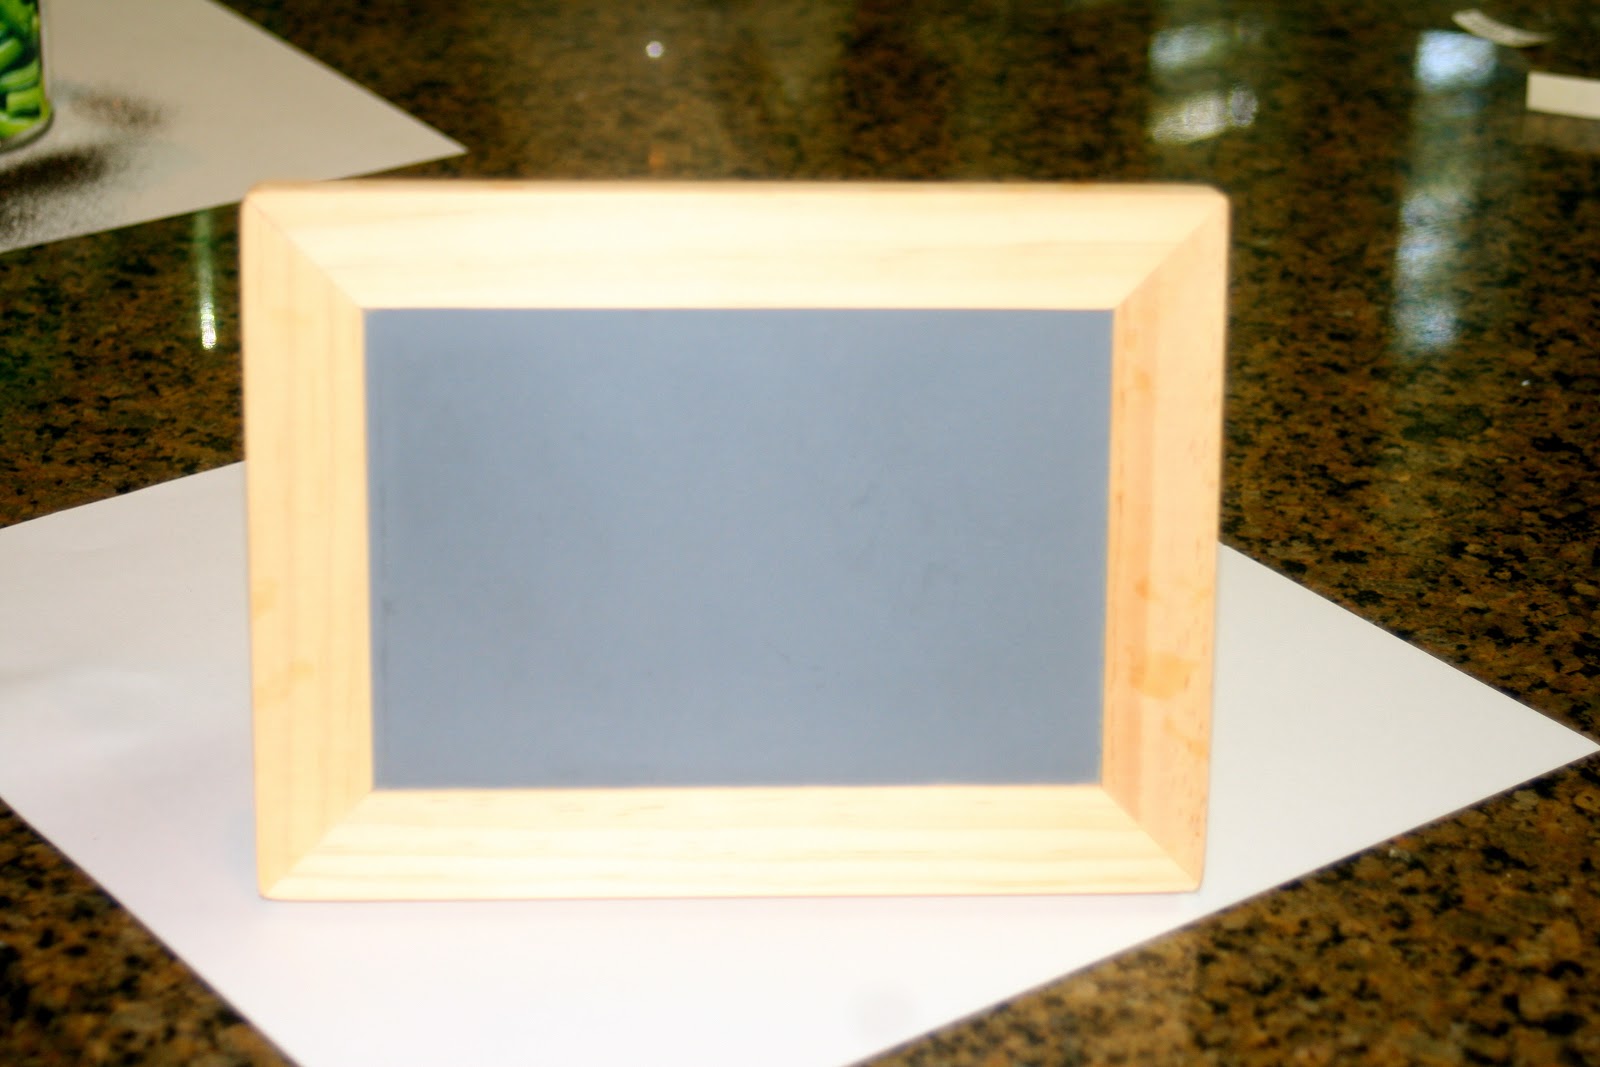
I never thought (and I'm sure you never did either) labor/delivery could make my project go from ordinary to fabulously covered in sparkles! Well it did. My best friend invited me to her family's craft day but since she was in labor we opted (a.k.a were forced) to bring our raw pieces home unfinished. A few weeks later we were back to crafting and with some help from Martha Stewart glitter we turned this plain wooden chalkboard into an art piece for love messages! If you're not into love, you could use it for recipes, to-do lists, or just draw a silly doodle to brighten someone's day!

What you need:
2 chalkboards (Dollar Store)
wood glue
decorative column (Home Depot)
wooden block for the base 
chipboard design of your choice (Hobby Lobby, Michael's)
mod podge
glitter (I used Martha Stewart- brownstone) 
paint (I used Martha Stewart metallic vintage gold)
painters tape
hot glue gun

Step 1: Sand the decorative column and wooden block base until smooth 
Step 2: Glue 2 chalkboards back-to-back using wood glue, let dry
Step 3: Prep boards with painters tape on both sides, set on can for easier painting

Step 3: Paint 2 coats
Step 4: While paint is drying, glue/screw the decorative column to the wooden block base

Step 5: Mod podge (be generous!) the base & column, then coat in glitter 
(let the glitter rest for a minute before knocking off the excess)
Step 6: Mod podge & glitter the chipboard design
Step 7: Once dry, hot glue the chipboard piece to the painted chalkboard
Step 8: Attach the chalkboard to the column with the wood glue or... 
if you have a handy man around use a dowel rod to ensure durability


The silly doodle my hubby drew me! It definitely made me laugh:) 

 Step 9: Write a sweet note to your hubby and VOILA! You've made your love sparkle:)  


Get Crafting!               
Team Tolman  

Friday, October 26, 2012

Homecoming (past & present)- DIY Baby Corsage!

Homecoming in Southeast Texas is bigger than Christmas... okay maybe not, but almost! All the schools get early-out, businesses shut down, main street is blocked off for the parade showcasing tons of black and gold floats, girls wear corsages that weight at least 20 pounds and some cost well over $200. The entire town goes to the football game and Vidor has an amazing halftime show-- complete with lights-out, glow-in the dark band & dance team, twirling batons on fire (personal favorite), and of course the firework show! This year was especially perfect since we annihilated our mortal enemy (PNG) 49-13!! Basically, homecoming is a day we live for.

Past Homecoming
Annabelle was only six-days old on her first homecoming! She definitely won the "Littlest Pirate" award.


DIY Corsages/Boutonnieres
Kayla had the grand idea to make our babies corsages! They turned out adorable and were made in about an hour, plus two hours of chatting:)
 Step 1: Cut a cardboard circle for the corsage backing
Step 2: Hot glue ribbons to the bottom half of the cardboard
Step 3: Scrunch ribbon together and staple periodically to create the ruffle behind the mum
Step 4: Hot glue the mum to the center of the ruffle, then glue that to the cardboard circle
(For the boy's boutonnieres, my mom glittered Pirate skull chipboard pieces)
Step 5: Trim the ribbon pieces to fit the little person and presto... an adorable corsage! 

Present Homecoming


ARRRR MATEY!     
Team Tolman


Tuesday, September 11, 2012

Scrapbooking Baby!

Annabelle discovered scrapbooking and now loves to glue, press, and say "Abelle did it!" See more adorable pictures of my baby being creative at Nellie's Cottage Blog Post: "Abeww scap book too?"

Sincerely,         
Me      
P.S. I am getting back to consistently blogging... promise!


Saturday, March 3, 2012

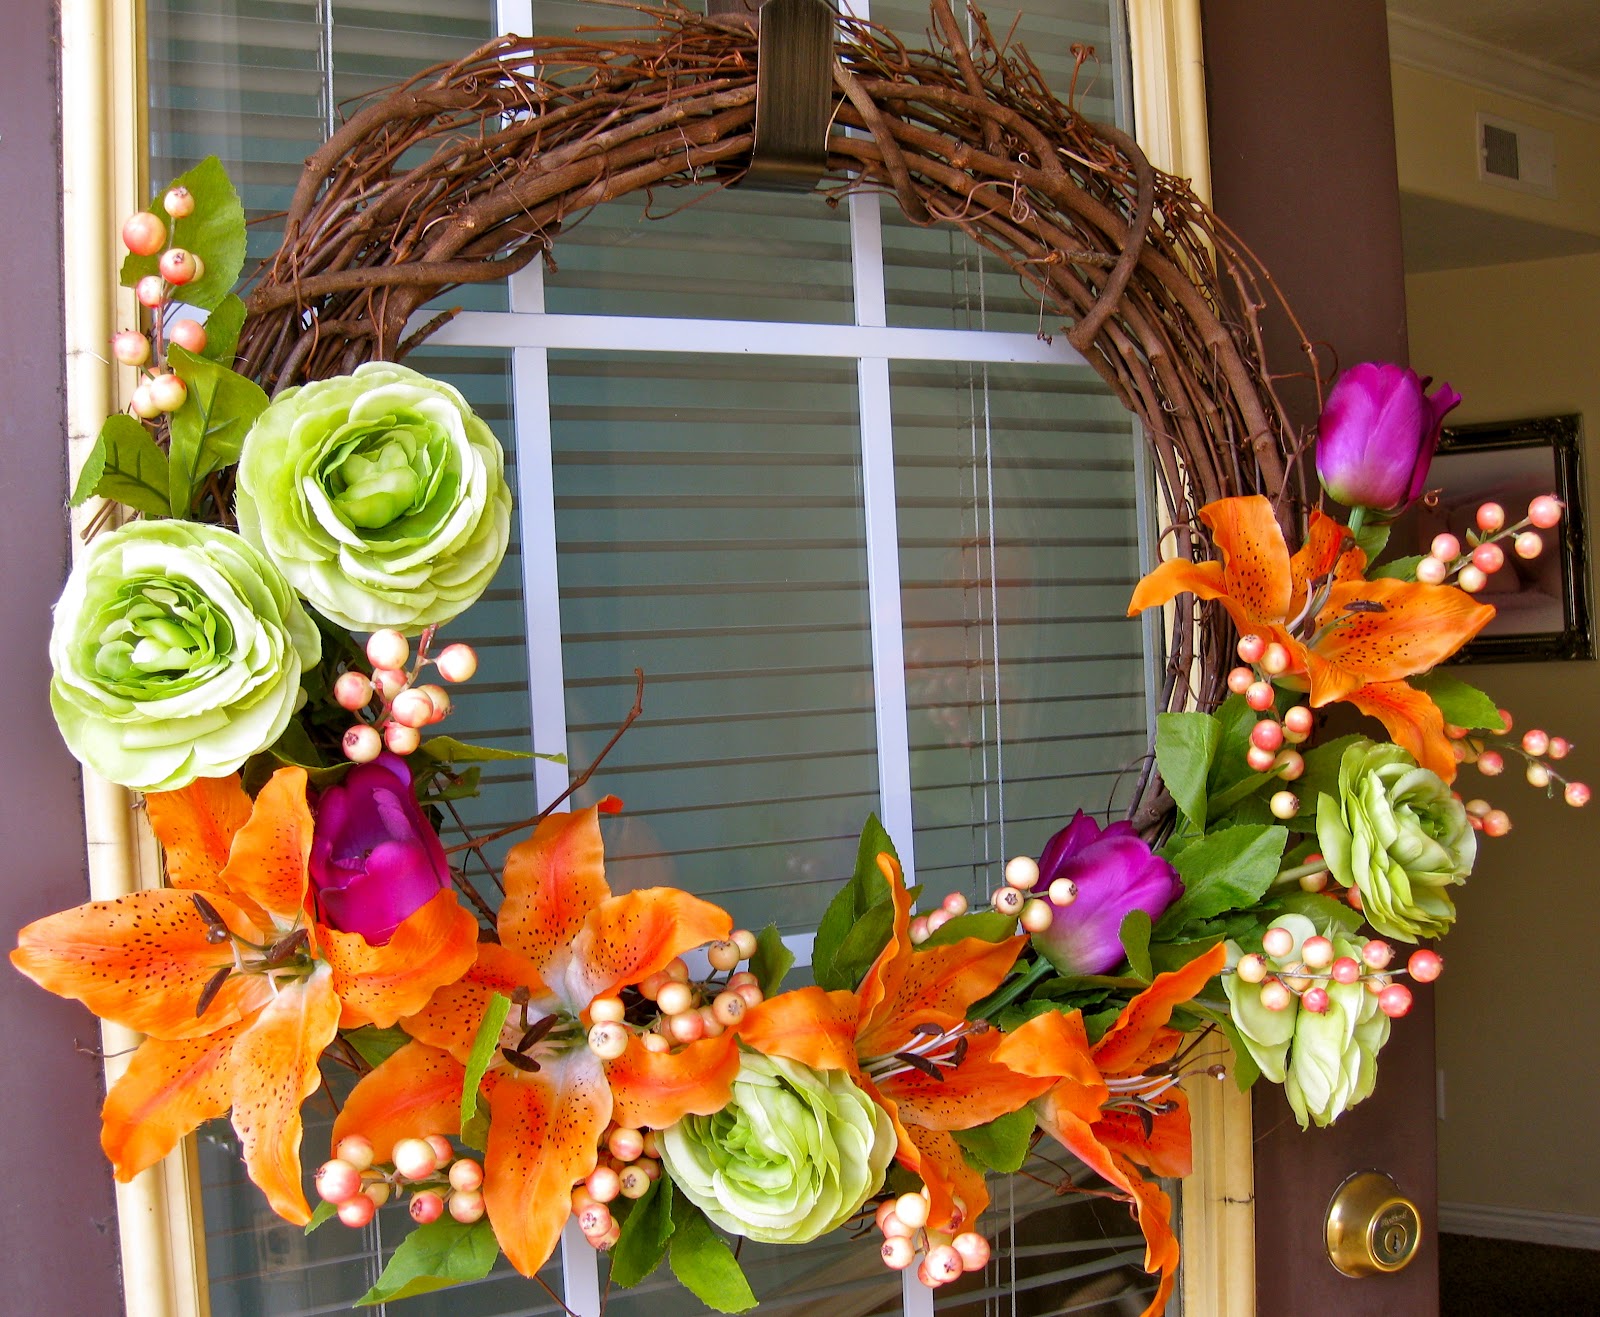
Spring Wreath

Mom is visiting and inspired me to retire the Christmas wreath (I'll admit it's probably time). 
So, it's being replaced with a beautiful, colorful, spring wreath.
When Momma's in-town, the girls' get crafty!


Welcome Spring:)

Sincerely,                 
Me           

Monday, September 26, 2011

Antiqued Table & Chairs

It has been 9 months since Travis and I have had a dining room table! How awful is that considering all the value that comes from a table and chairs?! Well....we found this solid, oak wood treasure online for only $40 dollars! I think Janene, whom we have nicknamed the "Craigslist Queen," would be so proud of our find;) The table's previous condition wasn't too shabby, but we wanted a different "look". Antiquing was the answer: much more work than we imagined, but well worth it! We absolutely love it and can't wait to eat our first family meal.


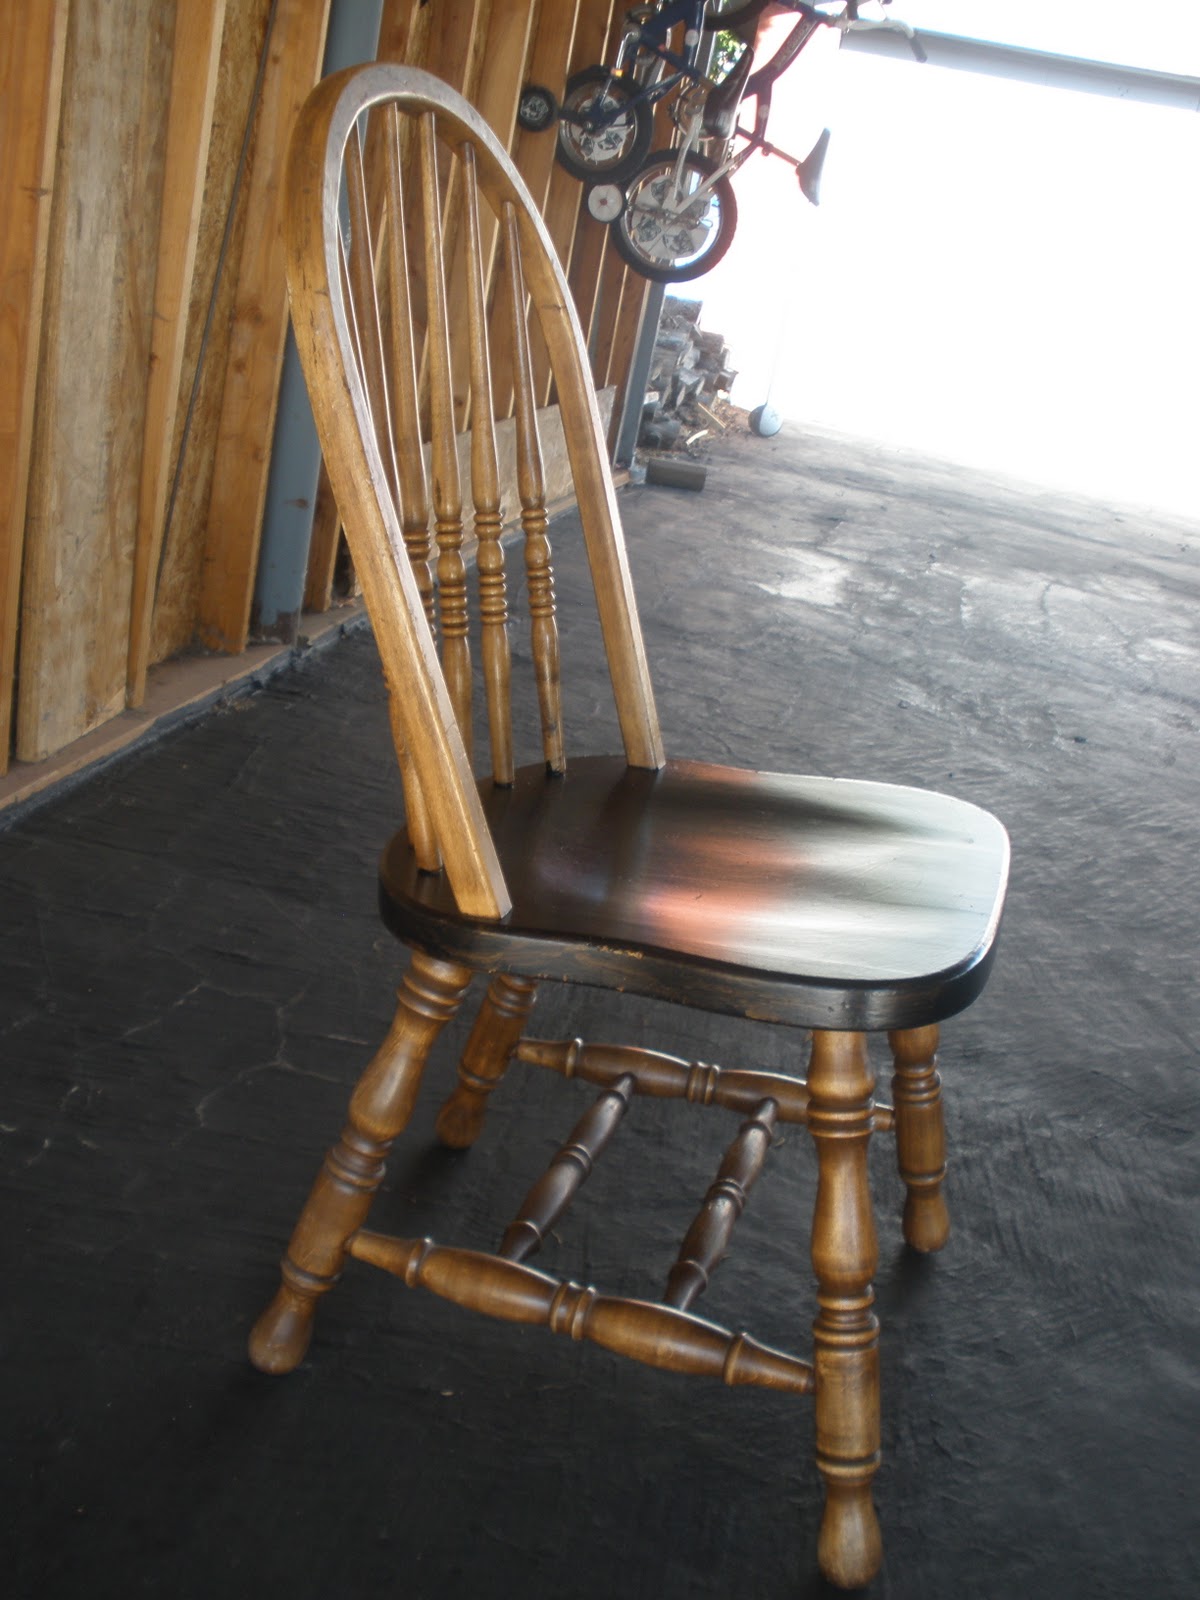
The chairs before their makeover...

 Step One: Apply "stripper" to the old paint and stain


 Step Two: Sand, sand, & sand some more! Annabelle did the cutest thing: She walked over, grabbed the sandpaper from my hand, and started sanding the legs of the chair!


Step Three: Apply primer where you want to antique  
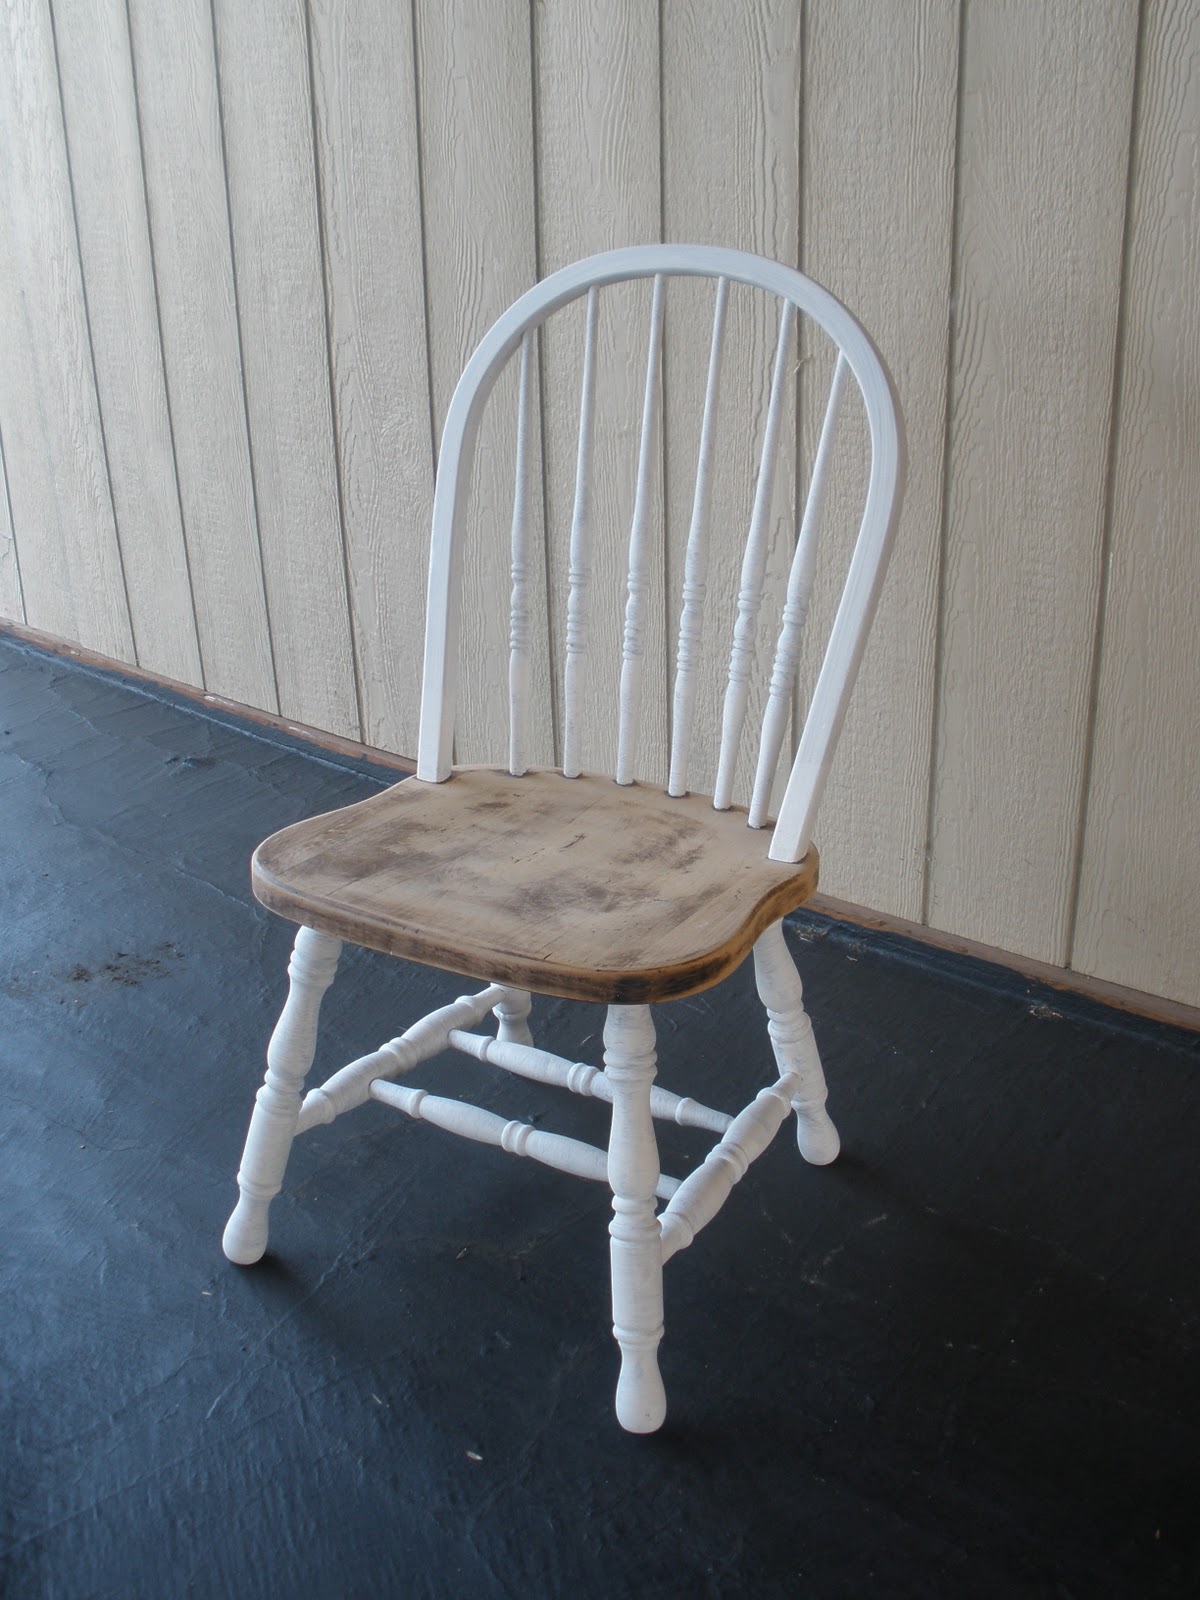
Step Four: Paint 2 coats of white paint
    Step Five: Stain the chair seats (color: Dark Walnut)
Step Six: Sand over dried white paint for that "antiqued look"


Step Seven: Glaze over the white paint, let it sit for 5 minutes, then wipe off
Step Eight: Apply 2 coats of clear coat finish

Finally....

Viola! Beautiful & Fabulous Antiqued Chairs 


Before...


The pictures don't do it justice, 
BUT... here is our Beautifully Antiqued Final Result! 


                                               Sincerely,
                                                                      Team Tolman

Sunday, September 18, 2011

100 Cupcakes & a Wedding Tower:)

 Saturday night was the Utah reception for my brother-in-law Dustin and his fabulous new wife, Jana. I wanted to design the cupcake display as part of their wedding gift, which I thought turned out fabulous! It was a lot of fun and I was re-considering my little girl dream of being a wedding planner:)


 Three Flavors: Orange Dreamsicle, Root Beer Float, and Travis' new favorite, Mexican Hot Chocolate!

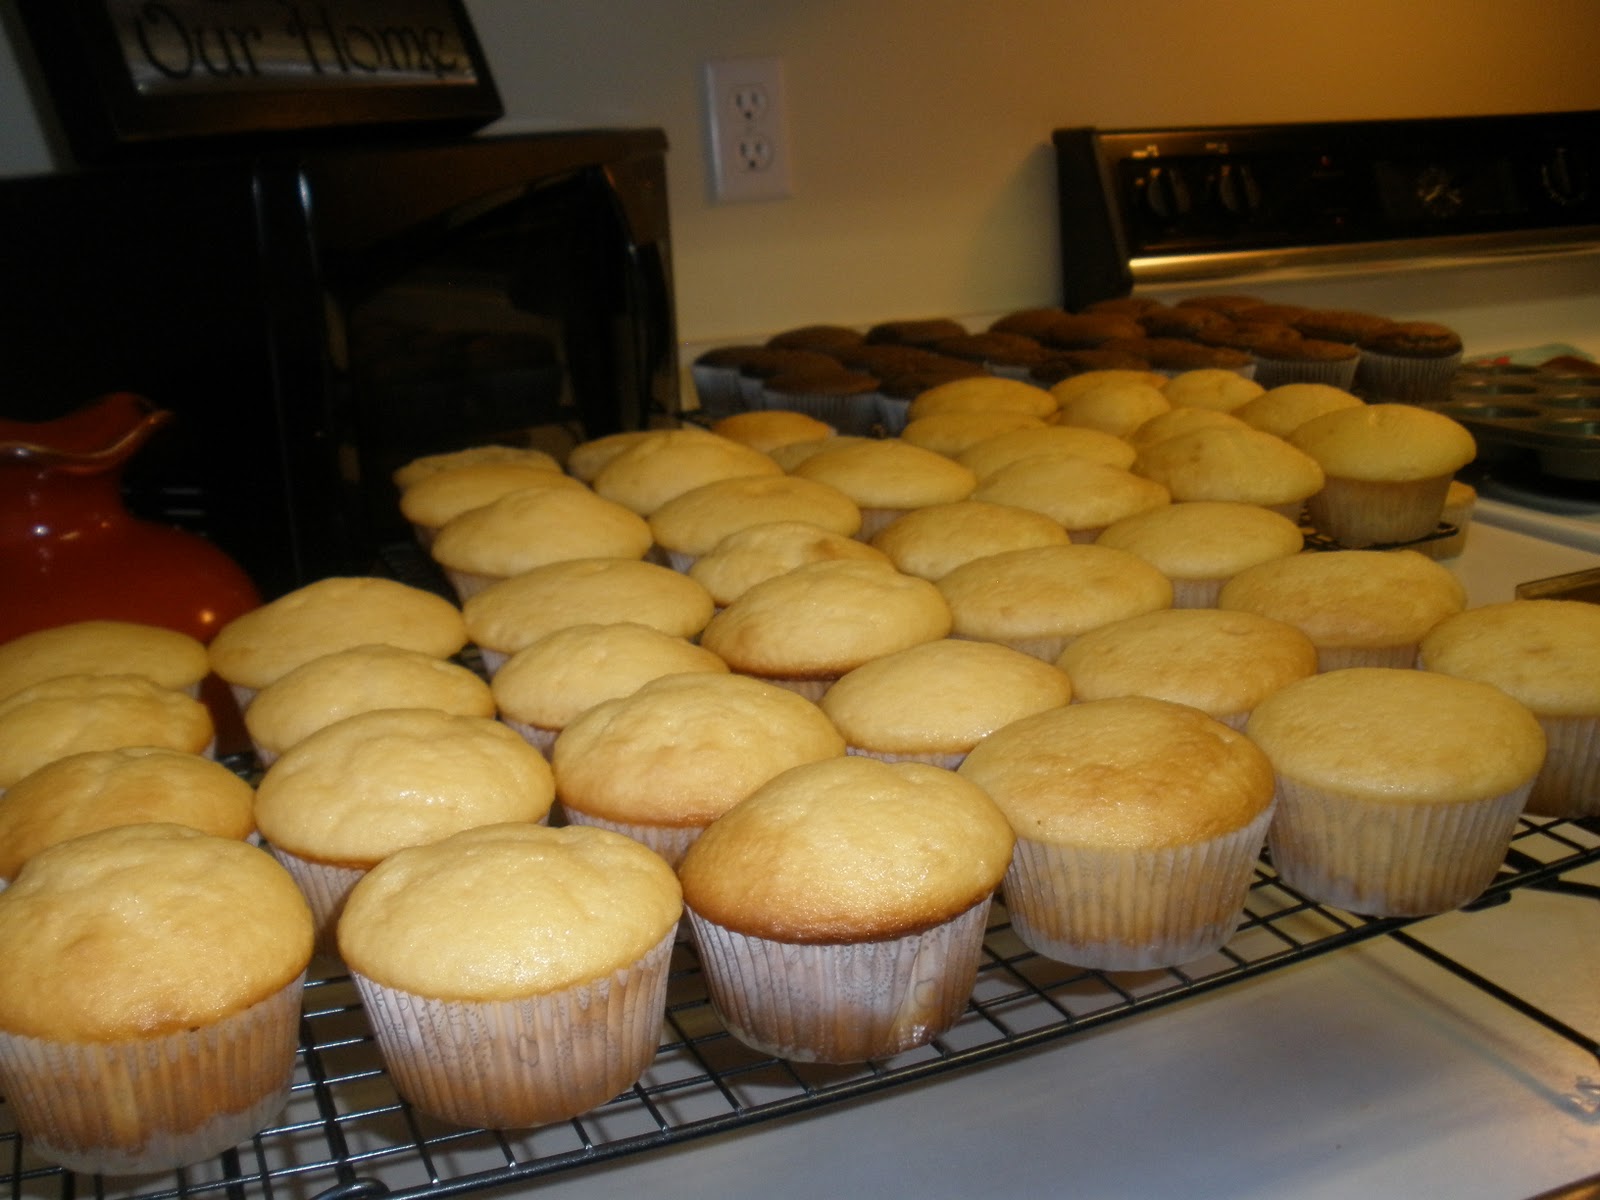
 Orange Dreamsicle was a fabulous cupcake to test! I made a basic yellow cake. Once they cooled, I filled the center with a mixture of homemade whipped cream and orange concentrate... so good! 

Final Product! Once filled, I topped the cupcake with a swirl of orange & vanilla buttercream icing and a clementine just for fun:)


 Travis aboslutely LOVES anything and everything from Mexico! So... a Mexican Hot Chocolate Cupcake was a must. Choose your favorite chocolate cake recipe (My momma's) and add 1 cup of dark chocolate chips, cinnamon, and extra vanilla. The smell of these baking was mouth-watering!

 I topped the cake with chocolate buttercream icing, a dollop of homemade whipped cream, a dash of cinnamon, and some Ghirardelli chocolate shavings! These were a big hit:)


 Root Beer Float is just a fun cupcake to make. The batter is a plain white cake but in place of the liquid I added actual A&W Root Beer! The icing is a basic buttercream with root beer flavoring.


I love inventing new recipes for cupcakes! Caroline King & I decided a cupcake shop was our calling in life. We met a few times this past winter to experiment with recipes. It was a blast and when Team Tolman finally settles down (hopefully San Antonio) maybe we will open "The Sugar Shack," filled with all our creations:) 


Wedding Cupcake Tower


 I got the tower idea from Janene: my amazingly creative, beautiful sister-in-law! She did something similar for my baby shower and I aboslutely LOVED it:) I changed the idea to fit more of a wedding style and thought the tower turned out pretty-darn fabulous!

I started with some random, unattractive boxes and covered them with a simple, elegant wrapping paper with "love" written all over. I then wrapped the two bottom tiers with teal ribbon. (Sadly I didn't get a picture of the front where the ribbons were tied in a bow.) The ribbon is held on with glue dots to keep it in place. Add the delicious cupcakes and... Viola! A beautiful centerpiece.


                                                                               Sincerely,
                                                                                                   Just Me